
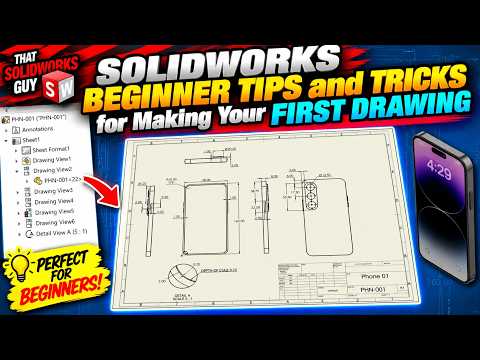
Transitioning from a 3D model to a professional technical drawing is one of the most critical steps in the engineering process. While 3D modeling allows for creativity and spatial problem-solving, the 2D drawing is the primary language used for manufacturing and quality control. If you are just starting your journey, mastering SolidWorks 2D drafting techniques will set the foundation for your entire career.
Setting Up Your Workspace
Before you place your first view, it is vital to select the correct sheet format and template. Many beginners make the mistake of rushing into the drawing space without checking the scale or units. Ensure your document properties match your project requirements—whether that is ANSI or ISO standards. Starting with a clean, organized template ensures that your title blocks and borders are professional right from the start.
Utilizing the View Palette
One of the most efficient ways to build your layout in SolidWorks 2D is by utilizing the View Palette. Instead of manually creating each projection, you can simply drag and drop the standard views (Front, Top, and Right) directly onto your sheet. Once your primary views are set, you can easily derive auxiliary or section views to show internal details that might otherwise be hidden. Remember, the goal of a drawing is clarity; avoid cluttering the sheet with unnecessary perspectives.
Smart Dimensioning and Annotations
A drawing is only as good as its measurements. Use the "Smart Dimension" tool to add clear, concise annotations to your parts. A pro tip for beginners is to use the "AutoDimension" feature or the "Model Items" command to automatically pull dimensions directly from your 3D sketch. This not only saves time but also ensures that your drawing remains parametric—meaning any changes you make to the 3D model will automatically update in your 2D documentation.
Final Refinements
As you wrap up your first project, take a moment to check for overlapping leader lines and ensure all text is legible. A clean drawing reduces the risk of manufacturing errors and demonstrates your attention to detail.
If you found these tips helpful for navigating SolidWorks 2D, consider sharing this guide with fellow designers. Mastering these basics is the first step toward becoming a CAD expert, and with consistent practice, you’ll be producing high-quality engineering drawings in no time!


