
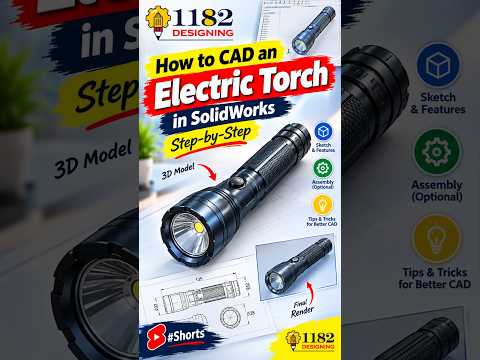
Transitioning from a blank screen to a fully realized, photorealistic product is one of the most exciting aspects of 3D CAD design. If you are eager to master modern product design, taking a dedicated SolidWorks 2D tutorial is the absolute best place to start. In this guide, we will break down how a simple two-dimensional sketch transforms into a sleek, metallic electric torch using SolidWorks.
Step 1: Building Precision with a 2D Sketch
Every great 3D model starts on a basic two-dimensional plane. To build an electric torch, you must first outline its profile—including the main cylindrical body, the ergonomic grip, and the tapered bezel for the lens. Following a structured SolidWorks 2D tutorial helps you learn how to use essential sketch tools such as lines, centerlines, arcs, and smart dimensions effectively.
During this phase, precision is paramount. Ensuring your dimensions are exact and applying geometric constraints (like symmetry, tangency, and horizontal/vertical relations) guarantees that your sketch is fully defined before moving on to the 3D phase.
Step 2: Transforming 2D Sketches into 3D Geometry
Once your 2D profile outline is finalized, the real magic happens. By using core SolidWorks features like Revolve Boss/Base or Extrude Boss/Base, you can instantly turn your flat sketch into a solid 3D shape.
To turn the basic torch shape into an industrial product, follow these steps: - Add Fillets and Chamfers: Smooth out sharp edges to give the body a comfortable, ergonomic feel. - Create Features with Cuts: Use Extruded Cut to carve out switch cavities, battery compartments, and lens housings. - Apply Metallic Textures: Assign physical material appearances like brushed aluminum, matte plastic, or chrome to bring the torch to life visually.
Step 3: Refinement and Detailing
The final touch involves refining component details and enhancing visual realism. Adding knurled grip patterns to the handle not only improves the overall aesthetic but also simulates real-world functional design. You can also model transparent materials for the front glass lens and add a light reflector component inside the torch head.
Conclusion
Mastering 3D CAD modeling does not have to be overwhelming. By starting with a comprehensive SolidWorks 2D tutorial, you gain the foundational techniques required to construct complex mechanical objects step-by-step. Whether you are designing simple household tools or intricate electronics, learning to bridge the gap between 2D geometry and 3D realism is essential for any modern designer. Open SolidWorks today, start sketching, and bring your product ideas into reality!


