
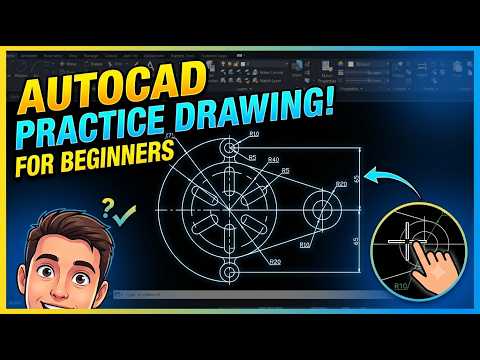
Whether you are just starting your engineering journey or transitioning from other software, mastering SolidWorks 2D drafting is an essential skill for modern engineers, product designers, and drafters. While 3D parametric modeling often takes the spotlight, strong 2D drafting fundamentals remain the backbone of detailed technical drawings, manufacturing blueprints, and precision schematics.
In this beginner-friendly guide, we break down how you can approach 2D practice drawings effectively to build confidence, accuracy, and drafting speed.
1. Setting Up Your Drafting Workspace
Before laying down a single line, always configure your drawing environment correctly. Select the appropriate template and ensure your document units—such as MMGS (millimeter, gram, second) or IPS (inch, pound, second)—match your project specifications. Establishing accurate document settings early on prevents scaling errors during manufacturing.
2. Mastering Essential Sketch Entities
At the core of SolidWorks 2D drafting is a collection of fundamental sketch tools. As a beginner, focus on practicing with these core entities: - Lines and Centerlines: Use them to define boundaries, baseline geometry, and axes of symmetry. - Circles and Arcs: Essential for creating round features, holes, slot patterns, and fillets. - Rectangles and Polygons: Ideal for creating fast structural shapes and base profiles.
Practicing simple geometric layouts allows you to understand how sketch elements interact on a two-dimensional plane.
3. Applying Geometric Relations and Smart Dimensions
A precise 2D draft must be fully defined to eliminate design ambiguity. Utilize geometric relations—such as Horizontal, Vertical, Parallel, Tangent, and Coincident—to establish strict constraints. Complement these relations with Smart Dimensions to lock in exact measurements, radii, and angle tolerances.
4. Step-by-Step Practice Strategy
To excel in SolidWorks 2D drafting, consistency is key. Work through practice drawings by following a structured workflow: 1. Identify symmetrical features and establish primary reference lines. 2. Outline the main profile using basic drawing tools. 3. Apply geometric constraints to lock shape proportions. 4. Add final dimensions to fully define the sketch.
Final Thoughts
Developing speed and accuracy in 2D drafting bridges the gap between raw concepts and production-ready mechanical designs. By adopting a disciplined practice routine, beginners can effortlessly transition into complex modeling tasks. Find a simple practice drawing, open your CAD workspace, and start drafting today!


