
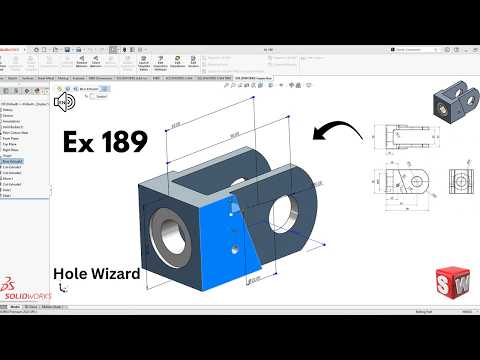
Are you looking to take your 3D CAD modeling skills to the next level? Transitioning from basic 2D sketching to full three-dimensional design is a crucial milestone for every designer and engineer. In this beginner-friendly guide, we break down a practical step-by-step CAD exercise to help you build confidence in creating mechanical components.
Why Master 3D Sketching in SolidWorks?
Traditional modeling often relies on creating 2D sketches on individual reference planes. However, mastering the SolidWorks 3D sketch environment allows you to draw across multiple axes (X, Y, and Z) simultaneously without building extra work planes. This technique is invaluable for structural frames, complex pipe routing, and advanced component positioning.
By incorporating a SolidWorks 3D sketch into your workflow, you streamline your feature tree, eliminate unnecessary reference geometry, and significantly speed up your design process.
Step-by-Step Breakdown: Beginner Mechanical Part
In this step-by-step exercise, we focus on combining foundational extrusion tools with specialized features:
- Defining the Core Geometry: Start by establishing the primary dimensions on your base plane. Extrude the main body to establish the core volume of your model.
- Utilizing the Hole Wizard: Instead of manually cutting circles, use the SolidWorks Hole Wizard to create standardized counterbore, countersink, or tapped holes. This guarantees manufacturing accuracy and saves valuable modeling time.
- Positioning Features across Axes: When placing complex hole patterns or structural paths across multiple surfaces, leveraging a SolidWorks 3D sketch allows you to precisely locate center points without creating additional construction planes.
Pro Tips for CAD Beginners
- Use Axis Relations: Always constrain your lines using directional relations (Along X, Along Y, Along Z) to keep your geometry fully defined.
- Master the Tab Key: While active in 3D sketch mode, pressing the Tab key instantly switches your drawing plane, making multi-directional sketching effortless.
- Keep Geometry Simple: Break complex parts into smaller, manageable features rather than attempting to draw everything in a single sketch.
By practicing these essential modeling techniques regularly, you will quickly build confidence in spatial design and produce cleaner, more efficient CAD models.


