
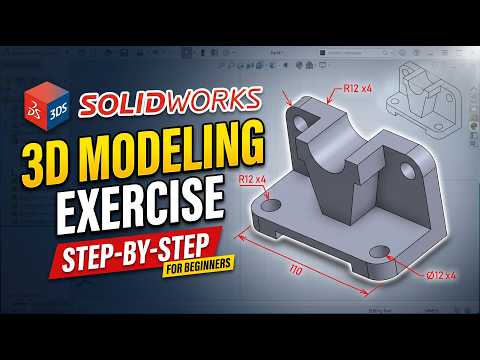
Are you ready to step into the world of 3D computer-aided design (CAD)? Whether you are an engineering student, a maker, or an aspiring product designer, learning how to build parametric parts is a fundamental skill. In this practical SolidWorks 3D tutorial, we will walk you through the process of modeling a mechanical bracket mount from scratch.
Step 1: Laying the Foundation with Base Sketching
Every great 3D model begins with a precise 2D sketch. To ensure your mechanical bracket is accurate and easy to modify later, follow these foundational steps:
- Select the Plane: Choose the Top or Front plane based on how the part sits in an assembly.
- Draw the Profile: Use the Line and Rectangle tools to trace the main body of the bracket.
- Apply Smart Dimensions: Assign exact lengths, angles, and radii to set the correct proportions.
- Add Geometric Relations: Use constraints like parallel, perpendicular, and concentric to lock your geometry securely.
Always aim for a "Fully Defined" sketch before moving forward—this prevents accidental shifts in your geometry down the road.
Step 2: Transforming 2D Sketches into 3D Features
Once your 2D profile is locked in, you can turn your flat drawing into a realistic mechanical component:
- Boss Extrude: Convert your base sketch into a solid 3D block using the Extruded Boss/Base feature.
- Add Cutouts and Holes: Create new sketches on the solid faces and apply the Extruded Cut feature to clear out mounting holes and slots.
- Refine Edges with Fillets: Apply fillets to sharp internal corners to minimize stress concentration and improve structural integrity.
Best Practices for Beginner CAD Designers
Following a structured SolidWorks 3D tutorial helps you build good habits early. Keep your FeatureManager Design Tree clean and readable by keeping sketches simple. If a component seems overly complex, break it down into smaller, logical features rather than trying to draw everything in a single sketch.
Conclusion
3D part modeling becomes straightforward once you break it down into core steps: sketching, extruding, and refining. By following along with this SolidWorks 3D tutorial, you have learned how to create a functional mechanical bracket mount while establishing strong CAD design principles. Fire up SolidWorks and start building your next 3D model today!


