
In the world of professional engineering, efficiency and standardization are the hallmarks of a successful design team. While much of your time is spent perfecting the geometry of a SolidWorks Part, the way you present that data in a technical drawing is just as crucial. A well-crafted drawing template does more than just look good; it automates your documentation process, reduces errors, and ensures that your company’s brand is consistent across every project.
Understanding the Foundation: Sheet Formats vs. Templates
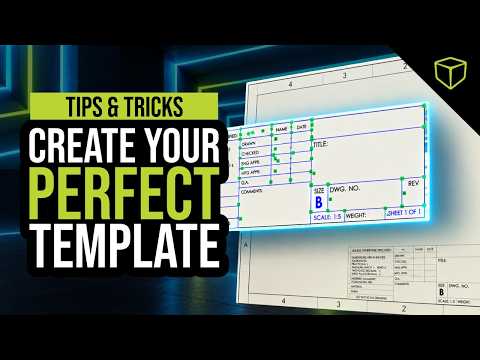
Before diving into the creation process, it is essential to understand the difference between a Sheet Format and a Drawing Template. The Sheet Format (.slddrt) controls the "static" elements, such as the title block, border, and company logo. The Drawing Template (.drwdot) acts as the overall container, storing your document-level settings like units, font styles, and drafting standards. To create a professional environment from the ground up, you must configure both to work in harmony.
Automating Data from Your SolidWorks Part
The real power of a standardized template lies in its ability to pull metadata directly from your 3D model. By utilizing "Link to Property" functionality within your title block, you can ensure that information like Material, Weight, and Description are automatically populated as soon as you place a view of your SolidWorks Part onto the sheet. This eliminates manual entry, which is the primary source of costly typos and manufacturing delays.
Streamlining Annotations and Standards
Consistency is key when it comes to readability. Your template should pre-define layer colors, line weights, and dimension styles. By setting these preferences at the template level, every engineer on your team will produce drawings that look identical, regardless of who created them. This level of standardization is vital for maintaining a professional image with external vendors and clients.
Finalizing Your Setup for Success
Once your title block is linked and your drafting standards are set, save your files into a dedicated network folder. By pointing your SOLIDWORKS File Locations to this specific path, you ensure that every time you start a new drawing for a SolidWorks Part, you are using the most up-to-date, standardized version of your template.
Investing time in your templates today will save hundreds of hours of rework in the future. By following these tips and tricks, you can transition from a blank screen to a professional, data-rich drawing in just a few clicks.


