
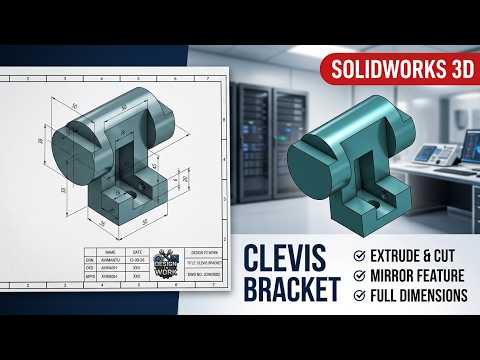
Transitioning from a flat drawing to a functional three-dimensional object is one of the most rewarding skills for any engineer or designer. In the world of Computer-Aided Design (CAD), the journey always begins with a clear plan. In this guide, inspired by our latest tutorial, we dive deep into the process of creating a robust mechanical bracket, starting from the foundational principles of SolidWorks 2D sketching and moving into advanced 3D extrusion techniques.
Starting with a Precise Sketch
Every great 3D model begins with a precise layout. In this exercise, we emphasize the importance of constraints and geometric relations. By mastering the SolidWorks 2D environment, you ensure that your final part is parametric and easy to modify later. We start by laying out the base geometry on the front plane, ensuring every line is "Fully Defined." This prevents accidental movements and ensures that your engineering intent is preserved throughout the design process.
Transforming 2D Geometry into 3D Volume
Once the flat profile is perfected, the real magic happens. We use the "Extruded Boss/Base" feature to give the bracket its physical volume. During this stage, you will learn how to select the appropriate mid-planes and handle material thickness effectively. The transition from SolidWorks 2D sketches to a 3D solid requires an eye for detail, especially when determining which features should be part of the initial extrusion and which should be added later as secondary operations.
Refining the Bracket with Technical Details
A bracket is rarely just a simple block; it requires functional features to be useful in a real-world assembly. We walk you through the process of adding mounting holes, ribs for structural integrity, and fillets to reduce stress concentrations. These steps involve creating new sketches on the faces of your 3D object, effectively repeating the cycle of sketching and extruding to add complexity. This iterative workflow is the backbone of modern mechanical design.
Conclusion
Whether you are a student just starting out or a professional looking to sharpen your workflow, mastering these fundamental steps is crucial for your career. By understanding how to bridge the gap between a simple sketch and a complex part, you unlock the full potential of CAD software. Be sure to follow our step-by-step video tutorial to see these techniques in action and elevate your design skills today!


