
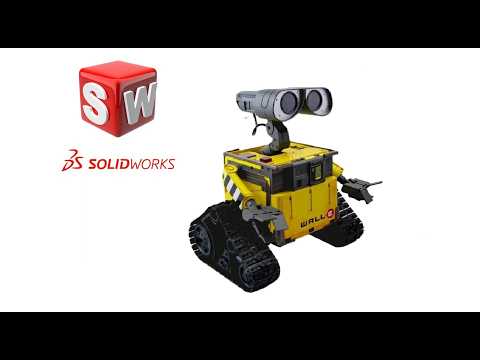
Are you ready to take your CAD modeling skills to the next level? Crafting complex mechanical designs requires not only technical precision but also an eye-catching aesthetic presentation. In this featured design tutorial, we take a deep dive into the final stages of the iconic Wall-E robot project, focusing on a comprehensive component review and visual color application using SolidWorks 3D.
Comprehensive Review of Wall-E Robot Assemblies
Before finalizing any complex mechanical model, performing a thorough component audit is essential. In this phase of the Wall-E project, every individual part—from his expressive binocular eyes and articulated arms to his intricate tread system—is systematically evaluated for proper geometry and assembly fitment.
Reviewing all parts together ensures that your mates, clearances, and mechanical relationships function correctly without spatial interference. Leveraging the parametric environment of SolidWorks 3D allows designers to quickly identify misalignments, adjust dimensions, and refine sub-assemblies, resulting in a fully functional digital prototype.
Bringing the Model to Life with Colors and Textures
A high-quality 3D model isn't complete without realistic visual finishing. Once structural integrity is verified, applying accurate materials, appearances, and surface colors brings the character to life. Wall-E’s signature weathered yellow chassis, dark metallic treads, and reflective optical lenses require careful color assignment to capture his recognizable charm.
Using the intuitive appearance mapping tools within SolidWorks 3D, you can effortlessly assign custom paint colors, metallic finishes, and textures to specific faces, features, or entire bodies. Adjusting light reflection, specularity, and color tones gives your model a polished, professional look suitable for rendering, client presentations, or showcase portfolios.
Final Thoughts
Mastering detailed CAD modeling requires patience and careful attention to detail. By systematically reviewing individual assembly parts and applying realistic appearances, you transform raw 3D geometry into a captivating design showcase. Keep practicing these visualization techniques to elevate your digital modeling workflow!


