
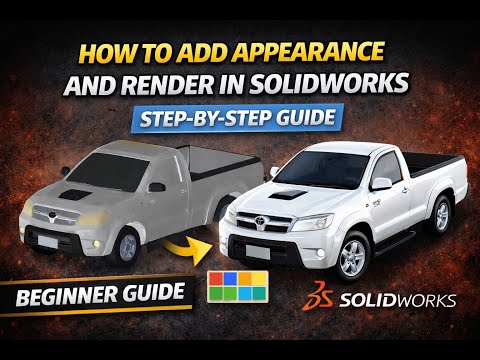
Transforming a standard 3D CAD model into a photo-realistic visual is one of the most effective ways to showcase engineering concepts. Whether you are presenting to clients, building a professional portfolio, or creating marketing material, producing a high-quality SolidWorks 3D render elevates your design presentation. In this guide, we will walk you through the essential steps to add appearances, configure scenes, and output impressive visuals.
Step 1: Assigning Materials and Appearances
Before rendering, your model requires accurate surface properties. SolidWorks provides an extensive built-in library containing metals, plastics, glass, and custom textures.
- Open your model and locate the DisplayManager or the Task Pane on the right side of the screen.
- Select the Appearances, Scenes, and Decals tab.
- Drag and drop your chosen material directly onto a specific face, feature, body, or the entire part.
- Double-click the appearance to adjust color hue, surface roughness, transparency, and texture scale to match real-world specifications.
Step 2: Configuring Lights, Shadows, and Scenes
Lighting plays a crucial role in product visualization. A poorly lit scene can make even the most detailed CAD model look flat and artificial.
- Select a Scene: Choose a studio or outdoor environment from the Scene menu that complements your product without causing distracting background noise.
- Adjust Lighting: Navigate to the DisplayManager to modify ambient, point, spot, or directional lights. Adjust brightness and shadow intensity to add natural depth and highlight key geometry features.
Step 3: Generating the Final High-Quality Render
With appearances assigned and lighting calibrated, you are ready to execute your SolidWorks 3D render. Depending on your package, you can utilize built-in tools like PhotoView 360 or SolidWorks Visualize.
- Enable the rendering add-in from the SolidWorks Add-Ins menu.
- Open the Integrated Preview or Final Render Window to check exposure and reflection alignment.
- Adjust your render settings, choosing high image resolution, aspect ratio, and ray-tracing quality options.
- Click Final Render and wait for the software to calculate light rays and reflections.
Mastering these core steps ensures your CAD designs transition seamlessly from mechanical blueprints into realistic visual assets. With consistent practice, generating a compelling SolidWorks 3D render will become an effortless finish to your engineering workflow.


