
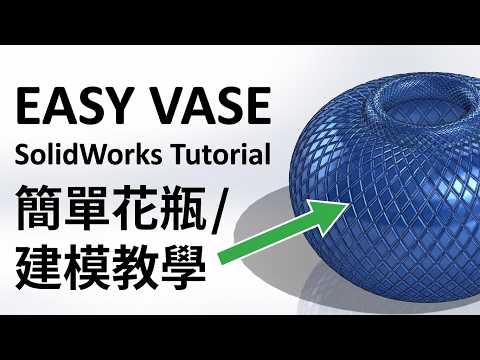
Are you looking to expand your 3D modeling skills beyond basic mechanical parts? Designing home decor, such as an elegant floral vase, is one of the best ways to practice working with complex curves, organic surfaces, and aesthetic geometry. In this guide, we will explore how to create a stunning decorative piece using SolidWorks.
Why Practice Organic Modeling?
While CAD software is often associated with industrial machine components, mastering decorative design helps you gain a deeper understanding of surface control and visual appeal. Creating a vase challenges you to think about curvature continuity, wall thickness, and visual balance—skills that are essential for high-level product design and consumer product development.
Step-by-Step Approach to Modeling a Vase
Building a stylish vase requires a smart combination of fundamental tools. Here is a breakdown of the general workflow:
- Creating the Base Profile: Start by creating a 2D sketch on the Front Plane. Use splines and smart dimensions to define the sweeping outer contour of your vase.
- Revolving or Lofting: If your design is cylindrical, a simple Revolve Boss/Base will turn your 2D outline into a 3D solid instantly. For more complex, twisted, or non-circular shapes, using lofted features with guide curves provides ultimate design freedom in SolidWorks.
- Hollowing Out the Geometry: Use the Shell tool to convert your solid body into a hollow container. Select a uniform wall thickness to ensure structural stability, especially if you plan to manufacture or 3D print the physical object.
- Refining Edges and Aesthetics: Apply smooth fillets to the top rim and bottom base. Softening sharp edges creates a polished, realistic appearance.
Bringing Your Design to Life
Once your 3D geometry is finished, you can apply custom materials, vibrant colors, or realistic glass textures directly within SolidWorks to generate impressive presentation visuals. Furthermore, the completed model can be easily exported as an STL file for 3D printing, allowing you to bring your virtual design straight into the real world.
Whether you are a student looking for an engaging practice project or an experienced designer refining your parametric skills, modeling a vase is both rewarding and practical. Be sure to watch the full step-by-step video tutorial to follow along and elevate your modeling technique today!


