
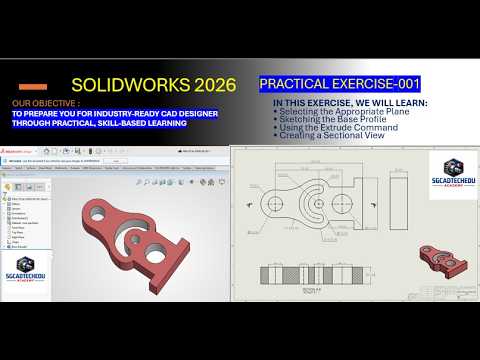
Transitioning from a blank screen to a completed 3D mechanical model is one of the most rewarding experiences for any aspiring engineer or designer. SolidWorks remains the industry standard for 3D computer-aided design (CAD), but the secret to complex machinery always lies in the fundamentals. In this guide, we will explore how to take an engineering drawing and bring it to life, starting with the most critical step: the initial sketch.
The Foundation of Every 3D Part
Before you can use powerful features like "Extruded Boss/Base," you must understand that every 3D object begins in a two-dimensional space. Mastering the SolidWorks 2D sketch is the essential first step for any beginner. By selecting a plane—whether it be the Front, Top, or Right plane—you create the "blueprint" that dictates the final shape of your mechanical component.
In our latest practice exercise, we focus on translating a technical engineering drawing into a digital format. This involves using basic tools such as lines, circles, and rectangles. However, drawing the shapes is only half the battle; ensuring they are accurately sized is where the real skill comes in.
Precision Through Dimensions and Relations
One of the most common mistakes beginners make is leaving their sketches "under-defined." To create a professional-grade SolidWorks 2D sketch, you must use the "Smart Dimension" tool and geometric relations (like horizontal, vertical, or tangent constraints).
When your sketch lines turn from blue to black, you know your design is "Fully Defined." This precision ensures that if you change one dimension later, the rest of the model reacts predictably, preventing errors in the manufacturing process.
Transforming Sketches into 3D Reality
Once your 2D geometry is locked in, the transition to 3D is seamless. By applying the "Extrude" feature, you give your sketch depth, effectively pulling it into the third dimension. This exercise demonstrates how a simple profile can become a robust mechanical part by following a systematic approach: 1. Analyze the engineering drawing for key dimensions. 2. Sketch the primary profile on the appropriate plane. 3. Constraint the geometry to ensure accuracy. 4. Extrude to the specified thickness.
By consistently practicing these steps, you will build the "muscle memory" required for more advanced assemblies and simulations. Whether you are a student or a hobbyist, focusing on a clean and accurate SolidWorks 2D sketch today will save you hours of troubleshooting in the future. Stay consistent, keep practicing, and watch your CAD skills soar!


