
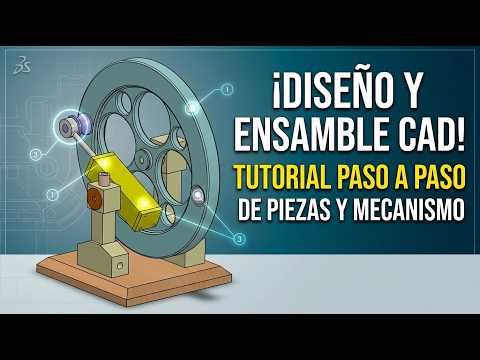
In the world of mechanical engineering and product design, the ability to transform a conceptual sketch into a functional digital prototype is a vital skill. SolidWorks remains the industry standard for this process, offering powerful tools for both individual part design and complex motion analysis. If you have ever wondered how a rotary motion is converted into high-pressure air, designing an air compressor mechanism is the perfect project to sharpen your skills.
Starting from the Ground Up: Individual Part Design
Every great machine begins with its components. To build a functional air compressor, you must first master the geometry of its core parts. This project starts by designing the crankshaft, the connecting rod, the piston, and the cylinder block from scratch.
Using SolidWorks’ sketching tools, you define the parameters and constraints that ensure each part is structurally sound. This "from scratch" approach is essential for beginners because it teaches the logic of parametric modeling—where every dimension is linked, allowing for easy adjustments later in the design process.
The Art of the SolidWorks 3D Assembly
Once your individual components are modeled, the real magic happens in the assembly environment. Creating a precise SolidWorks 3D assembly is about more than just placing parts next to one another; it is about defining the mechanical relationships, or "mates," that govern how the machine moves.
In this tutorial, you will learn how to apply concentric and coincident mates to ensure the piston slides smoothly within the cylinder while the crankshaft rotates. By correctly executing the SolidWorks 3D assembly, you can simulate the reciprocating motion of the compressor, identifying potential interferences or clearance issues before a single physical part is ever manufactured.
Refining and Testing Your Mechanism
A successful design isn’t finished until it’s tested. After completing the assembly, you can use motion study tools to visualize the mechanism in action. This step is crucial for verifying that the stroke length is correct and that the components interact without colliding.
By the end of this guide, you will have a comprehensive understanding of how to manage a multi-part project. Whether you are a student or a professional looking to refresh your workflow, mastering the SolidWorks 3D assembly process for a mechanism as iconic as the air compressor will provide you with a solid foundation for any future CAD challenge. Elevate your engineering portfolio today by bringing this mechanical marvel to life!


