
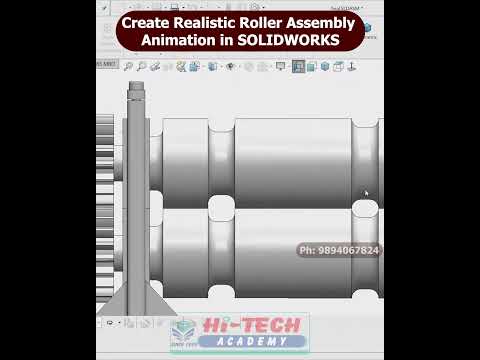
In the world of mechanical design, being able to visualize how a machine operates is just as important as the design itself. Whether you are presenting to a client or testing a functional prototype, mastering SolidWorks 3D animation allows you to bring your static models to life. In this guide, we will explore the essential steps to creating a realistic roller assembly animation that looks professional and functions accurately.
Setting Up Your Assembly for Success
Before you even touch the animation timeline, your assembly must be built with precision. For a roller assembly, this means ensuring all mates are correctly defined. Use concentric mates for the shafts and tangent mates for the rollers to ensure they interact correctly with the frame. A successful SolidWorks 3D animation relies on a foundation of "clean" geometry; if your mates are over-defined or conflicting, the motion study will likely fail or glitch during playback.
Navigating the Motion Study Tab
Once your model is ready, switch to the "Motion Study" tab at the bottom of the SolidWorks interface. To create realistic movement, you should utilize the "Basic Motion" or "Motion Analysis" options rather than simple "Animation."
Start by adding a Rotary Motor to the primary drive roller. You can adjust the RPM (revolutions per minute) to match real-world specifications. To make the sequence more dynamic, use keyframes on the timeline to start and stop the motion at specific intervals. This level of control is what separates a basic moving model from a high-quality SolidWorks 3D animation.
Adding Realism Through Physical Contact
The secret to "realistic" animation lies in the details. By enabling "Contact" between the rollers and the transported material, you simulate gravity and friction. This ensures that when the rollers spin, the object on top moves realistically due to physical interaction rather than just moving along a pre-defined path.
Finally, consider your camera angles. Adding a "Camera" to your motion study allows you to create cinematic pans and zooms, highlighting the intricate parts of your roller assembly. Once satisfied, render your project using PhotoView 360 or Visualize to achieve a lifelike finish that is ready for any professional presentation.


