
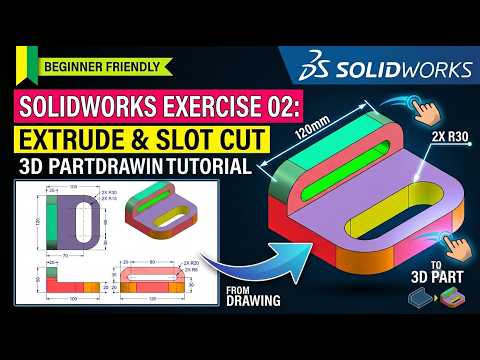
Are you ready to step into the world of 3D CAD modeling and mechanical engineering? Learning computer-aided design can feel overwhelming at first, but mastering a few fundamental tools will quickly build your confidence. SolidWorks remains one of the most powerful and widely used software programs in product design today, making it an essential tool for aspiring engineers, designers, and makers alike.
In this beginner-friendly guide, we will break down two essential features every new designer needs to master: the Boss/Base Extrude tool and the Slot Cut feature.
Mastering the Boss/Base Extrude Feature
The Extrude feature is the ultimate building block of almost every 3D model. It takes a flat 2D sketch—such as a square, circle, or custom profile—and expands it into three-dimensional space to give it volume and depth.
To create your first extrusion: 1. Select a sketching plane (such as the Front Plane). 2. Draw your initial 2D geometry using basic sketch tools. 3. Apply smart dimensions to ensure accurate measurements. 4. Activate the Boss/Base Extrude command, enter your desired thickness, and hit the green checkmark.
Congratulations—you have just converted a simple 2D drawing into a solid 3D component!
Adding Precision with the Slot Cut Feature
Once you have established your basic 3D shape, you will frequently need to remove material to create mechanical channels, keyways, or mounting holes. This is where cut features become indispensable.
Creating a slot cut is fast and precise: 1. Select the flat face of your 3D model where you want the cut. 2. Open a new sketch and select the Straight Slot tool from the sketch palette. 3. Position and dimension your slot profile accurately. 4. Switch to the Features tab and select Extruded Cut. 5. Set the condition to "Through All" or specify a precise depth to complete the cut.
Using dedicated slot tools instead of manually drawing parallel lines and arcs saves valuable design time and ensures exact geometric constraints.
Key Tips for a Smooth Workflow in SolidWorks
To ensure your design process in SolidWorks remains clean and efficient, keep these best practices in mind: - Always Fully Define Sketches: Use geometric relations (like horizontal, vertical, or concentric) along with smart dimensions to prevent accidental edits. - Design Intent Matters: Think about how your part will be manufactured or modified later before choosing feature depths. - Start Simple: Build complex components incrementally by combining simple extrusions and cuts rather than attempting a single over-complicated sketch.
By practicing these core extrusion and cutting techniques, you will build a solid foundation for advanced 3D modeling and mechanical engineering projects. Happy designing!


