
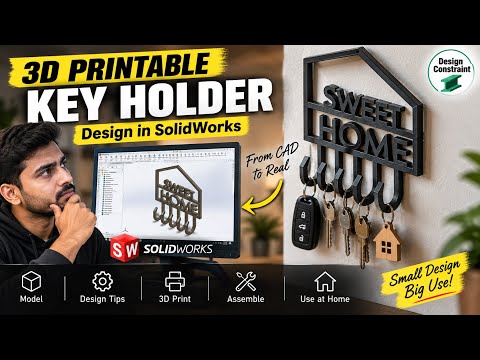
Looking for a practical 3D printing product that you can easily craft, sell, or gift? Personalized home accessories remain one of the most lucrative niches for 3D printing enthusiasts and small business owners alike. In this guide, we will explore how to create a stylish, custom-named house key holder from scratch. Whether you are a beginner or looking to expand your digital product catalog, mastering SolidWorks 3D design is your gateway to turning simple concepts into functional, real-world objects.
Why Custom Key Holders Are Great 3D Printing Products
Functional home décor products balance aesthetic appeal with daily utility. Key holders are compact, fast to print, and consume minimal filament, making them a low-risk, high-reward project for beginners. More importantly, offering customized family names or house numbers adds a personal touch that creates high perceived value. If you plan to launch a small 3D printing business, customized items like these are proven best-sellers on online marketplaces and local craft fairs.
Key Steps to Modeling Your Key Holder
Creating a durable, visually appealing key holder requires a structured CAD workflow. By leveraging SolidWorks 3D design features, you can quickly build parametric models that allow you to swap names and adjust dimensions in seconds:
- Sketch the Base Frame: Start by sketching the outline of a house or modern geometric shape on the Front Plane. Be sure to incorporate mounting screw holes so the holder can be securely attached to a wall.
- Incorporate Custom Typography: Use the Text Tool to type the target family name or house label. Extrude the text so it integrates seamlessly into the main body of the base plate.
- Add Key Hooks: Design robust peg or hook profiles at the bottom of the base. Ensure the geometry has adequate wall thickness to withstand daily pulling forces.
- Apply Fillets for Strength: Soften sharp interior corners with fillets. This reduces stress concentrations on the 3D-printed hooks and gives the final product a professional look.
3D Printing Best Practices
Once your CAD file is finalized, export it as an STL or 3MF file for your slicer. To ensure structural strength, consider the following print parameters: * Material: Standard PLA is suitable for interior use, while PETG offers extra impact resistance. * Infill: A 20–30% gyroid or grid infill provides adequate support. * Perimeters: Set at least 3 to 4 wall lines to give the hanging hooks maximum mechanical strength.
Final Thoughts
Refining your skills in SolidWorks 3D design empowers you to transform creative ideas into functional physical products. Start modeling your custom name house key holder today, and take the first step toward building your own custom 3D printing brand!


