
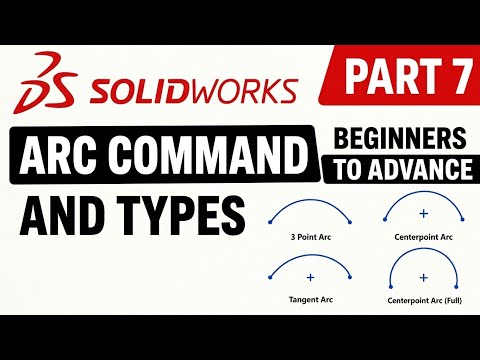
In the world of 3D modeling and mechanical design, precision is the foundation of every successful project. Whether you are a student or a professional engineer, mastering the basic sketching tools is essential for creating complex and accurate geometries. In this seventh installment of our SOLIDWORKS series, we are diving deep into one of the most versatile tools in the sketch toolbar: the Arc Command.
Understanding the Importance of Arcs
When you begin a new SW drawing, your ability to manipulate curves determines the fluidly and functionality of your final part. While lines and circles are straightforward, arcs allow for the intricate transitions and ergonomic shapes required in modern engineering. Understanding how to use the various arc types effectively will not only save you time but also ensure your sketches remain fully defined and easy to modify.
The Three Main Types of Arcs in SOLIDWORKS
SOLIDWORKS offers three distinct ways to create an arc, each suited for different design scenarios:
- Centerpoint Arc: This is the most common method. You define the center point first, then the start and end points of the arc. It is perfect when you need a curve that maintains a specific radius from a fixed coordinate.
- Tangent Arc: This tool is invaluable when you need a smooth, seamless transition from an existing line or curve. It automatically applies a tangent relation, which is a critical step in maintaining professional standards in your SW drawing.
- 3-Point Arc: If you know exactly where your curve needs to start and end, but you aren't sure about the center point, the 3-point arc is your best friend. Simply pick the two endpoints and then drag the radius to the desired position.
Pro-Tips for Better Sketching
To truly master the Arc tool, you should get comfortable with keyboard shortcuts and the "S" key shortcut menu. Additionally, always keep an eye on your "Relations" property manager. Ensuring that your arcs are constrained with tangents, coincidences, or equal relations is the secret to a robust SW drawing that won't break when you change a dimension later.
Conclusion
The Arc tool is more than just a way to draw curved lines; it is a fundamental building block for advanced 3D modeling. By practicing the Centerpoint, Tangent, and 3-Point arc methods, you will gain the flexibility needed to tackle any design challenge. Stay tuned for Part 8, where we will continue to explore the powerful sketching capabilities of SOLIDWORKS 2026!


