
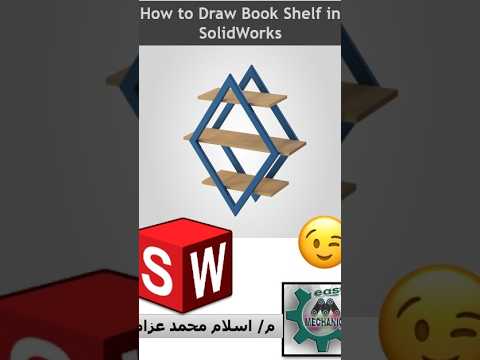
Designing functional and stylish furniture requires precision, creativity, and the right digital tools. Whether you are an aspiring engineer, an industrial designer, or a woodworker planning a new project, creating a custom bookshelf design is a fantastic way to sharpen your CAD skills. In this guide, we will explore how you can leverage SolidWorks to build a robust, modern bookshelf from scratch using advanced modeling features.
Harnessing the Power of Weldments for Structural Framing
One of the most efficient ways to tackle industrial furniture design is by utilizing structural weldment tools. Instead of extruding each metal frame component or wooden support individually, weldment functionality allows you to sketch a simple 3D frame layout and automatically apply structural profiles to it.
This streamlined approach drastically reduces modeling time while ensuring precise geometry, accurate corner trims, and realistic structural representation. It also makes generating structural cut lists for real-world manufacturing effortless.
Step-by-Step Guide to Bookshelf Design
To create an aesthetically pleasing and sturdy bookshelf, follow these core modeling steps:
- 3D Wireframe Layout: Begin by drafting a clean 3D sketch to define the overall height, width, and depth of the frame. This wireframe serves as the skeleton for your entire model.
- Apply Structural Profiles: Assign square tubing, angle iron, or custom profile shapes along the sketch lines to instantly generate the load-bearing metal structure.
- Insert Shelf Panels: Model the wooden or glass shelf surfaces. You can create these as separate components or directly within the main part file using multi-body design techniques.
- Refine Joints and Fasteners: Add gussets, end caps, and mounting holes to ensure structural integrity and realistic construction details.
- Apply Realistic Materials and Render: Finalize your model by applying high-quality appearances—such as matte black steel for the frame and rich oak wood for the shelves—to produce striking visual presentations.
Conclusion
Mastering advanced techniques in SolidWorks empowers you to transform creative furniture concepts into production-ready digital models. By practicing structural design on everyday items like custom bookshelves, you expand your knowledge of weldments, multi-body modeling, and functional assemblies. Fire up your software today and start bringing your unique design ideas to life!


