
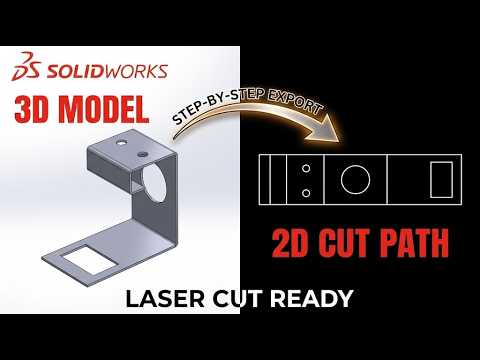
In the fast-paced world of precision manufacturing, efficiency is the key to staying ahead. Many designers and engineers spend unnecessary hours creating formal 2D drawing sheets just to generate a DXF file for laser, plasma, or waterjet cutting. However, there is a much faster way to bridge the gap between design and production. If you are using SolidWorks, you can bypass the drawing phase entirely and export your flat patterns directly from the 3D model.
Why Skip the Drawing Phase?
The traditional workflow often involves creating a new drawing file, inserting a flat pattern view, and then saving that file as a DXF. While this process is essential for complex blueprints with detailed annotations, it is often overkill for simple CNC parts. By exporting directly from SolidWorks, you reduce file clutter, minimize the risk of versioning errors, and get your designs to the shop floor in a fraction of the time. This shortcut is a game-changer for rapid prototyping and high-volume production environments.
Step-by-Step: Direct DXF Export
The process of generating a DXF without a drawing is surprisingly straightforward. First, ensure your part is designed using the sheet metal tools and contains a "Flat-Pattern" feature.
- Locate the Feature: In the FeatureManager design tree, find the "Flat-Pattern" folder at the bottom.
- Export Command: Right-click on the flat pattern and select "Export to DXF / DWG."
- Configure Options: A property manager will appear on the left. Here, you can select exactly what you want to include in the file—such as the outer geometry, bend lines, or specific sketches.
- The Preview Window: After clicking the green checkmark, SolidWorks provides a preview window. This allows you to inspect the file and remove any unwanted entities or construction lines before hitting save.
Final Tips for Clean CNC Files
Before finalizing your export, always double-check your scale settings. Ensuring a 1:1 ratio is vital for accurate manufacturing to avoid costly mistakes on the production line. Additionally, removing hidden lines or unnecessary annotations in the preview window ensures your CNC operator receives a clean, ready-to-use file. By mastering this direct export technique, you can transform your design process from a tedious manual task into a streamlined, professional workflow.


