
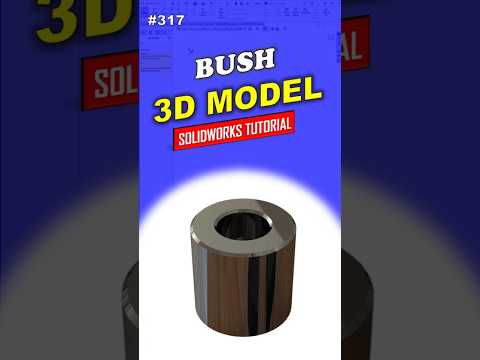
Welcome to the world of 3D design! If you are just starting your journey in Computer-Aided Design (CAD), the "317 Bush" project is an excellent starting point. While the model may appear simple at first glance, it incorporates fundamental techniques that are essential for any aspiring engineer or designer. In this guide, we break down a professional approach to creating this component with precision and efficiency.
Setting the Foundation
The first step in any professional project is proper preparation. Before drawing your first line, ensure your units and planes are correctly configured. For a cylindrical component like the 317 Bush, starting on the Top or Front Plane is usually the most effective strategy. By mastering the intuitive interface of SolidWorks, you gain the ability to turn complex mechanical concepts into precise digital prototypes with ease.
Sketching and Features
A professional model always starts with a clean, fully defined sketch. Utilize the "Circle" and "Centerline" tools to establish the primary geometry of the bush. It is crucial to use the "Smart Dimension" tool to lock in your diameters and lengths; this prevents accidental shifts in geometry during later stages of the design. Once your 2D profile is complete, apply the "Extruded Boss/Base" feature to transition your sketch into a three-dimensional solid.
Refining the Model with Professional Details
In the world of engineering, details matter. After the main body of the bush is formed, it is time to add functional features such as chamfers or fillets to the edges. These aren't just for aesthetics; they represent real-world manufacturing considerations that make parts easier to assemble and more durable. This specific tutorial simplifies the learning curve, making SolidWorks accessible and manageable even if you have never opened the software before.
Conclusion
By following this step-by-step approach, you are doing more than just creating a part; you are developing a professional CAD workflow. Consistent practice with foundational models like the 317 Bush will help you master the intricacies of 3D modeling and prepare you for more advanced engineering challenges in the future. Keep practicing, and watch your design skills grow!


