
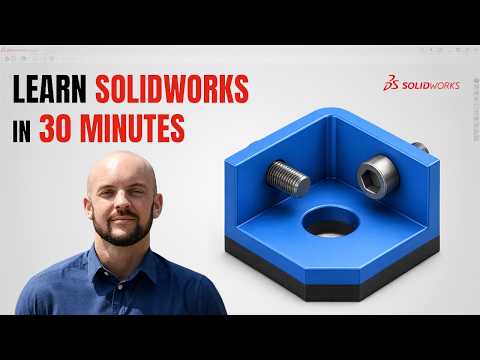
Are you ready to step into the world of 3D Computer-Aided Design (CAD) but feel overwhelmed by complex software? You are in the right place. SolidWorks remains one of the most powerful and widely used design tools in engineering and product design today. Whether you are a student, hobbyist, or aspiring designer, this beginner-friendly SolidWorks 3D tutorial is crafted to take you from a complete novice to building your first model in just 30 minutes.
Step 1: Navigating the User Interface
Before creating complex designs, mastering the layout is essential. When you launch SolidWorks, you are presented with three main environments: Part, Assembly, and Drawing. For beginners, the Part environment is where all modeling begins. You will learn how to navigate the CommandManager toolbars, utilize the FeatureManager Design Tree on the left, and choose the correct reference plane (Front, Top, or Right Plane) to start sketching.
Step 2: Turning 2D Sketches into 3D Geometry
Every solid 3D part starts with a simple 2D sketch. In this SolidWorks 3D tutorial, we guide you through drawing basic geometric shapes like rectangles, lines, and circles. You will also discover how to use Smart Dimensions and geometric relations to make your sketches fully defined and accurate. Once your 2D sketch is ready, applying the Extruded Boss/Base feature instantly turns your flat drawing into a realistic 3D object.
Step 3: Modifying and Refining Your Design
Building a basic block is just the start. To create functional components, you need to learn key modification tools: - Extruded Cut: Remove material to create holes, slots, or internal features. - Fillet and Chamfer: Smooth out or bevel sharp edges for better aesthetics and realistic manufacturing specs. - Revolved Boss/Base: Spin a profile around an axis to create cylindrical shapes effortlessly.
Start Designing Today
Mastering CAD does not have to take months of frustrating study. By following our structured SolidWorks 3D tutorial, you can build a strong foundation and start creating your own custom 3D parts immediately. Watch the complete step-by-step video above, follow along at your own pace, and unlock your engineering potential today!


