
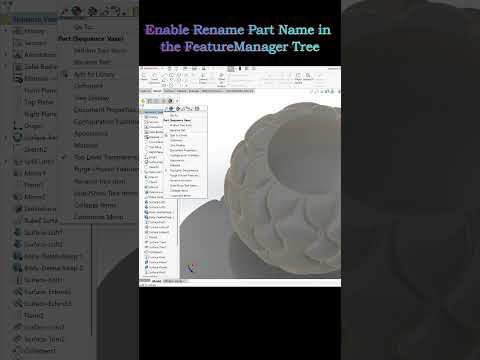
When working on complex assemblies in SOLIDWORKS, staying organized is the difference between a smooth workflow and a design nightmare. One of the most common frustrations for new users is the inability to quickly rename parts or features directly within the design tree. If you find yourself stuck with generic names like "Boss-Extrude1" or "Part2," it’s time to take control of your workspace.
Why Organize Your Design Tree?
A clean workspace leads to fewer errors and faster troubleshooting. When collaborating with team members or returning to a project after several months, clear naming conventions are essential for understanding design intent. By default, some versions of SOLIDWORKS may have direct renaming restricted to prevent accidental file path errors. However, enabling this feature allows you to maintain a professional and highly readable FeatureManager tree that reflects the true logic of your assembly.
Step-by-Step: Enabling the Rename Option
Ready to streamline your process? Follow these simple steps to toggle the rename setting and improve your productivity:
- Open System Options: Launch SOLIDWORKS and click on the Options (gear icon) located at the top of the interface.
- Navigate to Settings: In the System Options tab, look for the FeatureManager category on the left-hand sidebar.
- Toggle the Rename Feature: Once selected, locate the setting labeled "Allow component files to be renamed from FeatureManager tree." Ensure this checkbox is ticked.
- Confirm and Save: Click OK to apply the changes.
Pro Tips for Efficient Modeling
Now that the feature is active, you can simply click once on a component name, pause, and click again (or press F2) to rename it. This adjustment doesn't just change the display name; depending on your specific assembly settings, it can also rename the underlying part file, keeping your Windows folders as organized as your CAD environment.
Customizing your FeatureManager to fit your specific needs is a small change that yields significant productivity gains. By taking a moment to adjust your system options, you ensure that your design intent is always clear, making your models easier to navigate for everyone involved in the project.


