
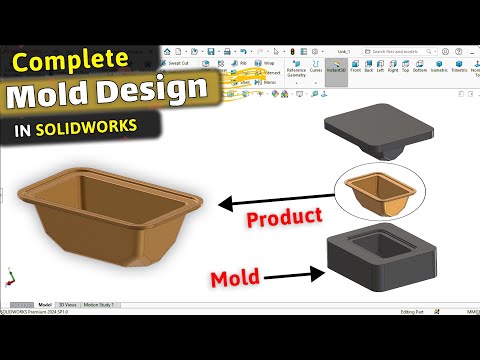
Designing molds for plastic injection molding requires precision, foresight, and the right tools. Whether you are creating simple consumer goods like a plastic bucket or complex industrial components, SolidWorks provides a robust suite of dedicated mold design features that streamline the entire process from concept to production.
In this guide, we will break down the essential steps to build a functional plastic mold, focusing on key techniques such as Draft Analysis, Parting Lines, and Tooling Splits.
1. Conducting a Draft Analysis
Before creating mold components, you must ensure your plastic part can be cleanly ejected from the mold without surface damage. Utilizing the built-in Draft Analysis tool in SolidWorks, engineers can evaluate face angles across the model in real time. This automated feature color-codes the geometry to highlight areas with sufficient draft, identify negative draft, and flag problematic undercuts that require design adjustments.
2. Establishing the Parting Line
Once the draft angles are verified, the next step is defining the parting line. The parting line marks the exact boundary where the core and cavity halves of the mold separate. By selecting the primary direction of pull, the software automatically calculates and traces the optimal parting path along the outer edges of the model.
3. Creating Shut-off and Parting Surfaces
Before splitting the mold block, any open holes or pass-through features in the part must be sealed using shut-off surfaces. Next, you generate the parting surface, which extends outward from the parting line. This surface acts as the dividing plane that prevents molten plastic from leaking during the high-pressure injection molding process.
4. Executing the Tooling Split
The final phase of the process is creating the core and cavity blocks. By sketching a mold base boundary over the parting surface and applying the Tooling Split feature, SolidWorks automatically divides the solid block into two distinct halves: the core (which forms the internal shape) and the cavity (which forms the external shape).
Conclusion
Mastering these core features allows engineers and designers to eliminate costly manufacturing defects early in the design cycle. By taking full advantage of the specialized mold tools available in SolidWorks, you can transform 3D CAD models into production-ready mold tooling with confidence and efficiency.


