
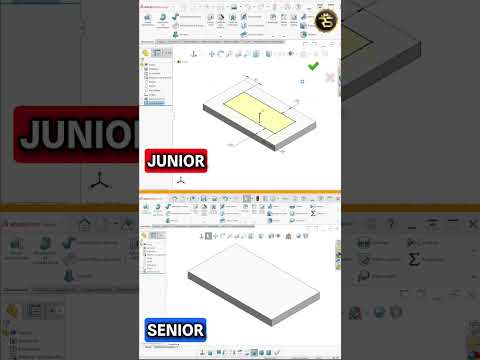
The Trap of Drawing Everything from Scratch
When starting out in 3D CAD modeling, beginner and junior designers often follow a predictable path: create a new sketch plane, draw every single line or curve manually, add dimensions, and perform a feature cut. While this step-by-step approach gets the job done, it is rarely the most efficient way to build a model.
If you find yourself manually sketching every opening, contour, or cutout from scratch in SolidWorks, you might be spending double the time necessary on your design projects.
How Senior Engineers Approach Modeling Differently
The real difference between a junior and a senior CAD designer isn't just knowing where tools are located on the toolbar—it is understanding how to leverage existing model geometry to save time and maintain parametric flexibility. When faced with creating an opening or complex cutout on a part, a senior designer immediately looks for smart design shortcuts.
Instead of drawing a new profile line by line, experienced engineers rely on powerful built-in automation features, including:
- Convert Entities: Instantly project existing part edges onto your current sketch plane without redrawing a single line.
- Offset Entities: Generate uniform inner or outer geometric profiles effortlessly at a specified distance.
- Derived & Patterned Features: Duplicate repetitive cuts or symmetry dynamically across axes and faces.
By reusing existing geometry, you not only drastically speed up your modeling workflow in SolidWorks, but you also build stronger design intent. If the parent geometry changes later, your cutout or feature updates automatically—saving you from tedious manual edits down the road.
Work Smarter, Not Harder
The next time you open a design, challenge yourself to rethink your modeling habits. Before drawing a new sketch from scratch, ask yourself: Can I reference, convert, or offset geometry that is already there?
Mastering these core efficiency techniques is the fastest way to elevate your CAD skills from a junior level to a senior mindset. Stop reinventing the wheel and start modeling like a pro!


