
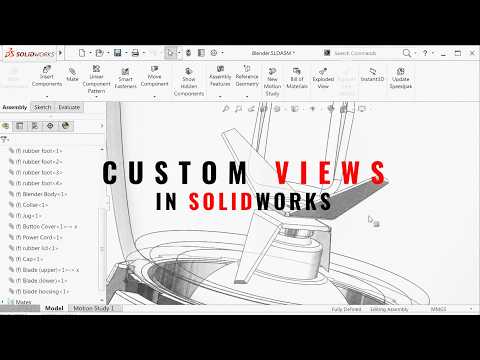
Working with complex 3D models can easily slow down your engineering workflow, especially during critical design reviews. If you frequently find yourself manually rotating, zooming, and re-orienting CAD assemblies just to highlight specific angles, you are losing valuable time. Fortunately, there is a simple, underutilized feature in SolidWorks that can dramatically streamline this process: Custom Views.
Why Custom Views Matter in Assembly Modeling
When presenting a complex assembly to stakeholders, managers, or clients, smooth navigation is essential. Standard orthogonal orientations—such as Front, Top, or Isometric—often fail to showcase intricate internal components or tight clearances. Instead of awkwardly manipulating your model during live meetings, setting up Custom Views allows you to jump directly to key inspection points with a single click.
How to Set Up Custom Views Step-by-Step
Leveraging this productivity feature is quick and easy to incorporate into your pre-meeting preparation:
- Orient Your Model: Rotate and zoom to the exact angle and perspective you want to present in your workspace.
- Open the View Orientation Dialog: Press the Spacebar on your keyboard to launch the View Orientation menu.
- Save a New View: Click the New View icon, type a clear, descriptive name (such as "Internal Gear Engagement" or "Cable Clearance"), and click OK.
- Access Instantly: Your new view will now be saved within the Orientation dialog for immediate access whenever needed.
Boost Presentation Efficiency and Productivity
By integrating Custom Views into your daily CAD routines, you turn static review sessions into dynamic, professional presentations. You no longer need to struggle with hidden components or waste time trying to recreate the perfect viewing angle. Mastering this simple setting in SolidWorks guarantees faster assembly reviews, clearer communication, and a much smoother design verification process.


