
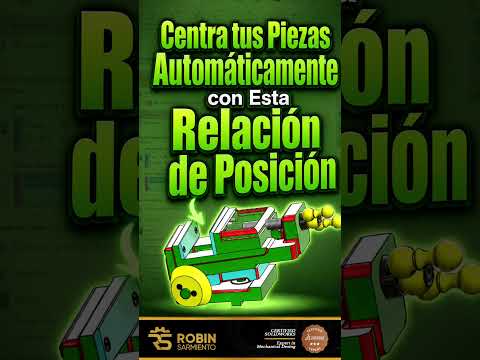
When working on complex assemblies, one of the most common challenges designers face is perfectly centering a component between two surfaces. While you could calculate the math and use a distance mate, there is a much faster and more professional way to achieve this. In this guide, we will explore the "Width Mate," a powerful feature in SolidWorks that automates the centering process, saving you time and reducing the risk of errors.
What is the Width Mate?
The Width Mate is located within the Advanced Mates section of the software. Its primary purpose is to constrain a component—such as a washer, a gear, or a bracket—precisely in the middle of two faces. Instead of relying on static dimensions, this mate uses the geometry of the parts themselves to define the center point. This means that if the outer dimensions of your assembly change, your centered part will automatically adjust its position to stay perfectly aligned.
Step-by-Step: Centering Your Parts
To use this feature effectively, follow these simple steps within your assembly environment:
- Open the Mate Tool: Click on the "Mate" icon in the Assembly tab.
- Access Advanced Mates: Scroll down in the PropertyManager and expand the "Advanced Mates" section.
- Select Width: Choose the Width mate icon.
- Define Selections: You will see two boxes. In the "Width selections" box, select the two inner faces of the outer part. In the "Tab selections" box, select the two outer faces of the part you wish to center.
- Apply: Once selected, SolidWorks will instantly snap the part to the center. You can choose from different constraints like "Centered," "Free," or "Dimension," but "Centered" is the go-to for most designers.
Why You Should Use This Technique
Using the Width Mate is a hallmark of an efficient designer. It creates a "robust" design, meaning your assembly is less likely to break when changes are made. Because the mate is based on references rather than fixed numbers, it provides a level of parametric flexibility that manual positioning simply cannot match.
Mastering these types of advanced constraints in SolidWorks is essential for anyone looking to move from a beginner to an expert level. If you are looking to further refine your skills, don't miss out on specialized training events like the upcoming "Ruta Expert" sessions running from September 28th to October 1st. Keeping your skills sharp is the best way to stay competitive in the fast-evolving world of 3D modeling.


