
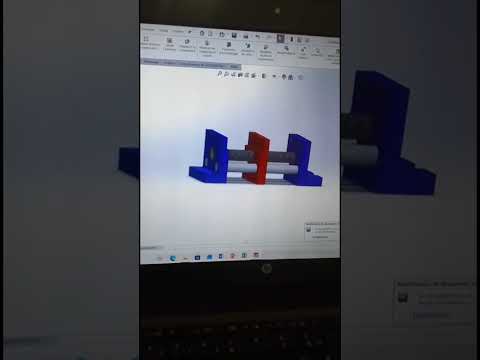
Starting out in the world of Computer-Aided Design (CAD) can feel overwhelming, but mastering 3D modeling doesn't have to be complicated. Whether you are an engineering student, a product designer, or a passionate maker, learning how to build simple 3D parts step-by-step is the best way to gain confidence. In this quick guide, we will explore how you can easily create your first 3D model using SolidWorks, even if you are a complete beginner.
Why Start Your CAD Journey with SolidWorks?
SolidWorks is one of the most widely used parametric CAD programs in the industry today. Despite its professional-grade features, it offers a remarkably intuitive user interface that allows newcomers to transition quickly from basic 2D sketches to solid 3D geometries. By breaking down any physical object into basic shapes, you can construct detailed components without getting lost in overly complex tools.
Key Steps to Model Your First 3D Part
To successfully turn a digital concept into a finished 3D component, follow these fundamental steps:
- 1. Choose the Right Plane: Begin by selecting a primary sketch plane (Front, Top, or Right) that best represents the base profile of your object.
- 2. Create the Base 2D Sketch: Use basic geometric tools like lines, rectangles, and circles to sketch the rough outline of your component.
- 3. Apply Smart Dimensions: Fully define your sketch by adding precise measurements and geometric relations to ensure exact structural accuracy.
- 4. Extrude to 3D: Convert your 2D outline into a solid 3D body using the Extruded Boss/Base feature.
- 5. Add Finishing Details: Refine the part by cutting out holes or applying fillets and chamfers to smooth sharp edges.
Final Thoughts
3D design is a practical skill that improves rapidly with practice. By focusing on simple modeling techniques and working on small daily projects, you can dramatically improve your CAD efficiency and tackle complex engineering challenges with ease. Start sketching today and bring your 3D ideas to life!


