
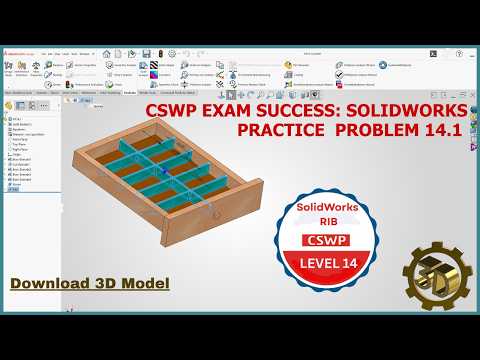
When designing 3D parts, adding structural support without adding unnecessary weight or material is a common engineering challenge. In SolidWorks, the Rib tool provides a quick, efficient way to create thin-wall structural supports derived from simple 2D sketches. Whether you are preparing for the Certified SolidWorks Professional (CSWP) exam or refining your daily CAD workflow, mastering this feature is essential.
What is the Rib Feature?
A rib is a specialized type of extruded feature created from open or closed sketched contours. Instead of creating a complex closed profile and extruding it manually to fit existing geometry, the Rib tool automatically extends the sketch lines until they intersect with surrounding solid bodies. This saves valuable modeling time, keeps your feature tree clean, and ensures your parametric design remains easy to modify.
Step-by-Step Guide to Modeling Ribs
Creating a precise rib feature requires only a few simple steps:
- Create the Sketch: Select a reference plane or planar face that intersects your main geometry. Draw a simple open contour line (or multiple lines) representing the orientation of the rib.
- Activate the Rib Tool: Navigate to the Features tab on the CommandManager and click on Rib.
- Set Parameters:
- Thickness: Choose whether the thickness is applied symmetrically on both sides of the sketch line or to one specific side.
- Extrusion Direction: Set the direction parallel or normal to the sketch depending on your design intent.
- Draft: Add a draft angle if your component requires manufacturing considerations such as plastic injection molding or casting.
- Preview and Apply: Ensure the directional arrow points toward the solid body so the material merges correctly, then click the checkmark to finalize.
Why Mastering Ribs Matters for the CSWP Exam
Efficiency and accuracy are critical when taking speed-based certification exams. Manually extruding support walls requires extra sketching steps and increases the potential for errors during mass property calculations. Utilizing advanced features built directly into SolidWorks allows you to answer complex modeling questions quickly while maintaining fully editable geometry.
Incorporate the Rib tool into your design routine today to streamline your workflow and confidently tackle advanced CAD challenges!


