
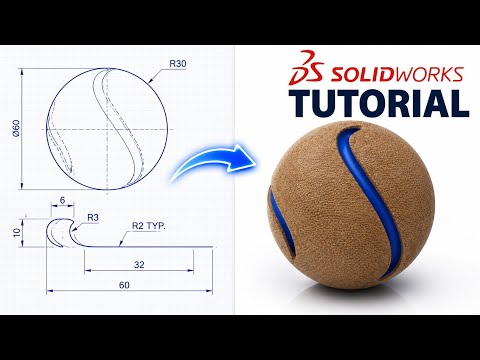
Creating realistic textures and intricate grooves on curved surfaces can seem challenging, but modern CAD software makes it surprisingly straightforward once you know the right workflow. In this step-by-step guide, you will learn how to design a stunning 3D textured sphere featuring a custom S-shaped groove using SolidWorks. Whether you are a beginner looking to expand your parametric modeling skills or an intermediate designer wanting to refine your surface techniques, this tutorial covers everything you need to know.
Setting Up the Base Geometry
The first step in building a textured sphere is establishing a clean base solid. Start by creating a simple revolve feature to form the main spherical body. Precise dimensions are key here, as they dictate the scale of both the surface textures and the custom groove. Once your sphere is defined, sketch the path for the signature S-shaped groove across the surface using reference planes and projected curves to ensure seamless flow around the curvature.
Adding the S-Shaped Groove and Texture
With the path established, use a swept cut or wrap feature to carve out the smooth S-shaped groove around the ball. Next comes the fun part: applying the surface texture. In SolidWorks, complex patterns on curved geometry can be achieved through feature patterns, knurling techniques, or advanced surface displacement. By patterning a small geometric unit around the sphere's central axis, you instantly transform a plain solid into a visually engaging, high-detail 3D object.
Rendering and Final Polish
To make your model truly stand out, apply realistic materials and appearance settings. Adjusting light reflections and color contrasts between the textured surface and the inner groove will highlight the depth and precision of your 3D design. Master these core modeling fundamentals in SolidWorks today to elevate your product design portfolio and bring your complex CAD projects to life!


