
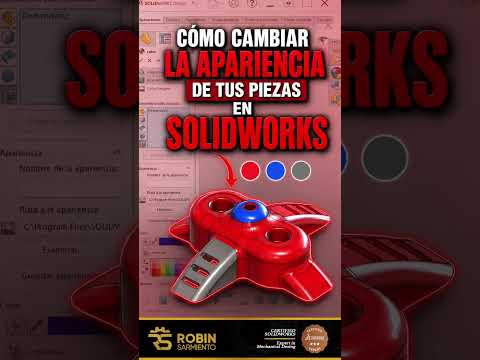
When working on complex 3D engineering designs, visual clarity is just as crucial as precise geometry. A small aesthetic adjustment can instantly transform a confusing cluster of gray components into a clean, professional model. By mastering custom colors, textures, and surface finishes in SolidWorks, you can make your designs drastically easier to interpret for clients, manufacturers, and team members alike.
Why Customize Appearances in Your 3D Models?
Default CAD models get the job done, but they rarely tell the whole story. Applying custom appearances serves several practical purposes beyond basic aesthetics:
- Improved Clarity: Easily distinguish between separate components, weldments, or sub-assemblies at a single glance.
- Realistic Presentations: Show stakeholders how the final product will look using realistic plastic, brushed metal, or glass finishes.
- Functional Organization: Color-code parts based on material types, manufacturing processes, or mechanical functions to streamline communication.
How to Apply Appearances Step by Step
Modifying visual elements in SolidWorks is intuitive and highly flexible. Here is a quick guide to getting started:
- Open the Task Pane: Locate the Appearances, Decals, and Scenes tab on the right side of your screen.
- Browse the Library: Search through the extensive material library, featuring everything from high-gloss plastics and rubber to anodized aluminum and wood.
- Drag and Drop: Drag your selected appearance directly onto the model. You can apply it to a specific face, feature, solid body, or the entire part assembly depending on your project needs.
- Fine-Tune Details: Adjust the color palette, texture scale, and illumination properties in the PropertyManager to achieve your desired visual result.
Boost Your CAD Workflow Today
Taking a few extra seconds to assign custom appearances in SolidWorks pays off significantly during design reviews and client presentations. Clearer visual communication minimizes misunderstandings, reduces manufacturing errors, and gives your engineering projects a polished, professional edge. Start experimenting with colors and materials today to take your 3D modeling skills to the next level!


