
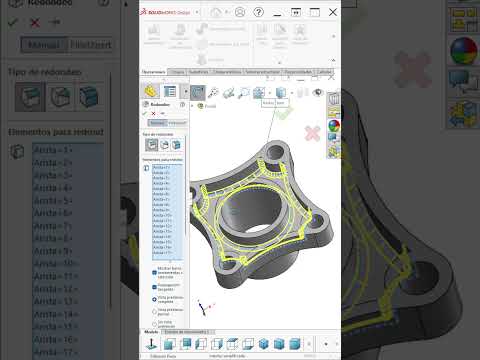
Adding a fillet in 3D CAD software might seem like one of the simplest tasks imaginable. With just a few clicks, you can smooth sharp edges and prepare your model for manufacturing. However, there is a major difference between simply applying a feature and using it with proper design intent. Mastering features in SolidWorks requires knowing when, where, and how to apply fillets efficiently to avoid broken rebuilds and bloated file sizes.
Here is a guide on how to work smarter with fillets and elevate your design workflow.
1. Pay Attention to Feature Order
One of the most common mistakes beginner designers make is applying rounded edges too early in the feature tree. When you fillet edges early in the modeling process, subsequent features—such as cuts, extrusions, or shell operations—become far more complex for the software to compute.
As a rule of thumb, save cosmetic and minor functional fillets for the end of your design process. Placing them near the bottom of the tree keeps your primary geometry simple, leading to faster rebuild times and fewer parent-child dependency issues when making revisions.
2. Choose the Right Fillet Type
Not all rounded edges are created equal. Depending on your design requirements, selecting the appropriate tool variation is critical for optimizing your SolidWorks workflow:
- Constant Size Fillet: Perfect for standard mechanical edges and quick edge breaks.
- Variable Size Fillet: Ideal for smooth transitions along a single edge where stress distribution or aesthetics vary.
- Face Fillet: Useful when edges are non-adjacent or complex, helping you blend surfaces that don't share a clean boundary.
- Full Round Fillet: Excellent for creating fully rounded side faces automatically, ensuring geometric symmetry without guessing radius sizes.
3. Group Similar Fillets Together
Instead of creating a new feature entry for every single edge, group edges with identical radii into a single feature. This clean structure keeps your FeatureManager design tree organized and easy to navigate for team members. However, avoid over-grouping unrelated geometry; keeping functional structural rounds separate from aesthetic cosmetic rounds strikes the perfect balance.
Conclusion
Creating a fillet is easy, but applying it thoughtfully defines professional CAD modeling. By keeping your feature tree organized, choosing the right tool variant, and delaying fillet creation until the final stages, you can elevate your SolidWorks skills and build robust, error-free models every time.


