
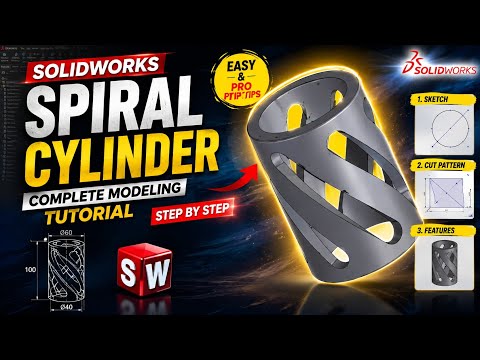
Creating complex text, logos, or intricate patterns on curved surfaces can be a challenging task in 3D CAD modeling. Fortunately, SolidWorks provides a versatile tool specifically designed to handle these complex surface operations effortlessly: the Wrap Command.
Whether you are designing custom bottles, mechanical parts with knurled grips, or detailed product logos, mastering the Wrap feature will significantly speed up your workflow and elevate the realism of your 3D models.
What is the Wrap Feature?
The Wrap command in SolidWorks allows designers to take a 2D planar sketch and project it seamlessly onto planar or non-planar (curved) surfaces. Unlike standard extrusions, the Wrap feature accurately conforms geometry to the exact contour of target faces, such as cylinders, cones, and freeform surfaces.
The Wrap tool operates in three primary modes: * Emboss: Creates raised 3D geometry on the selected face. * Deboss: Engraves or cuts indented geometry into the surface. * Scribe: Imprints the sketch contours directly onto the surface to split the face without adding or removing material.
Step-by-Step: How to Use the Wrap Command
- Create the Base Body: Model your main 3D part (such as a cylinder, bottle, or rounded mechanical component).
- Draw a 2D Sketch: Select a reference plane tangent or parallel to the target face. Draw your desired pattern, text, or logo. Ensure your sketch profiles are closed for Emboss or Deboss actions.
- Activate the Tool: Navigate to the Features tab on the toolbar and select Wrap.
- Define the Parameters:
- Choose your desired Wrap Type (Emboss, Deboss, or Scribe).
- Select your 2D sketch and the target curved face.
- Specify the extrusion thickness or depth.
- Generate the Feature: Click the checkmark to apply the command and view your accurate, curved 3D feature.
Why Every CAD Designer Should Master It
Attempting to extrude flat sketches onto curved surfaces using basic tools often results in severe distortion or flat, unnatural geometry. The Wrap feature eliminates this problem by automatically calculating true surface curvature. It saves time, keeps your feature manager design tree clean, and ensures your models look professional.
Start experimenting with the Wrap command today to unlock new creative possibilities in your design workflow!


