
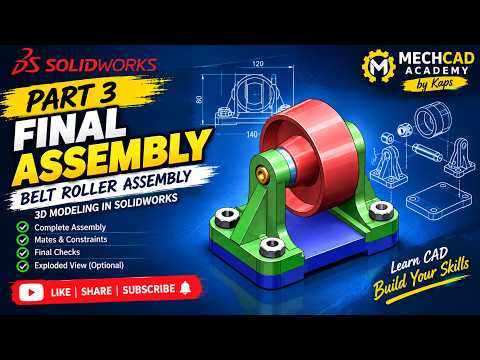
Are you ready to take your mechanical design skills to the next level? Building complex mechanical assemblies in CAD can seem intimidating, but breaking the process down into manageable steps makes all the difference. In this practical SolidWorks 3D tutorial, we will walk you through the final steps of completing a Belt Roller Assembly. Whether you are an engineering student or an aspiring CAD designer, mastering 3D assembly techniques is essential for creating accurate functional models.
Bringing It All Together: The Belt Roller Final Assembly
The belt roller mechanism is a fundamental mechanical setup widely used in material handling and conveyor systems. Completing this final assembly requires bringing together several individual components, including rollers, shafts, support brackets, and standard fasteners.
During this phase of the project, you will focus on applying proper assembly mates to define physical relationships and motion accurately. By establishing standard concentric, coincident, and distance mates, you ensure that every part aligns seamlessly within the global space. Following a structured SolidWorks 3D tutorial helps you avoid common alignment errors and guarantees that your digital model functions just like its real-world counterpart.
Best Practices for Mechanical Assembly Design
To get the most out of your 3D modeling workflow and maintain high performance in your assemblies, keep these core design tips in mind:
- Apply Mating Best Practices: Limit mate redundancy to prevent solve errors in your assembly feature tree.
- Run Interference Detection: Always perform an interference check once all components are mated to catch overlapping geometry early.
- Organize Your Component Tree: Group sub-assemblies and rename key mates so that future modifications remain quick and painless.
Conclusion
Mastering mechanical design through hands-on practice with this SolidWorks 3D tutorial will boost your confidence in handling real-world industrial projects. Take your time working through the belt roller assembly, refine your mating workflows, and continue elevating your 3D CAD skills!


